Rebilly Documentation (Redocly) is an API documentation tool that provides an interactive way of documenting APIs
Disclaimer: This article isn't a single source of truth as regards documenting APIs with Redocly, in fact for a better understanding of how Redocly works, I recommend that you visit the Redocly documentation. however, this article provides step by step approach on how technical writers or developers, can run their documentation using Redocly, locally(preview) on their local machine.
Requirement: You must already have written your documentation in YAML or JSON. If you don't have that already or you don't know how to go about it, I'll advise you to visit YouTube for tutorials on writing JSON and YAML, sadly, I don't have any to recommend. Let's proceed
Publishing Docs locally with Redocly command-line tools
Before we dive into the step by step tutorial, I will like to state some of the functions of the Redocly command-line tools(CLI);
With the Redocly CLI, you are able to split your OpenAPI definition into smaller files, which can later be referenced using the JSON reference tag
$refin the main OpenAPI file, similar to how a UI can be split into different components and worked on separately e.g A homepage UI can be divided into Navbar, Header, Hero etc, each having there own files which can later be referenced from the main file to form the complete Homepage UI. This structure also helps for collaboration, different technical writers can be given a particular API feature to document. Open-source to the moon🚀🤗.The Redocly CLI also helps you to check your OpenAPI definition against a ruleset, this is to ensure that you are adhering to best practices. through this, you are able to notice errors in your document before publishing. NOTE: You can customize how strict the linting ruleset will be.
The Redocly CLI helps you bundle all your OpenAPI definition smaller files into a simple file, which enables you to render your API documentation locally as a single file and also feed that file to an API documentation tool to publish. You can learn more about the Redocly CLI features here.
Redocly step by step tutorial
- Download and Install node, if you don't have it installed already. You need it installed before you can work with Redocly.
- Create a folder, name it anything you want. Now include your YAML or JSON documentation file inside the folder you created. you will soon see why you need to do this later on.
- Now that the folder you created contains your Documentation file,
cdinto that folder from your command terminal or open the folder with VS code and open your VS code terminal. Run this command on the opened terminal
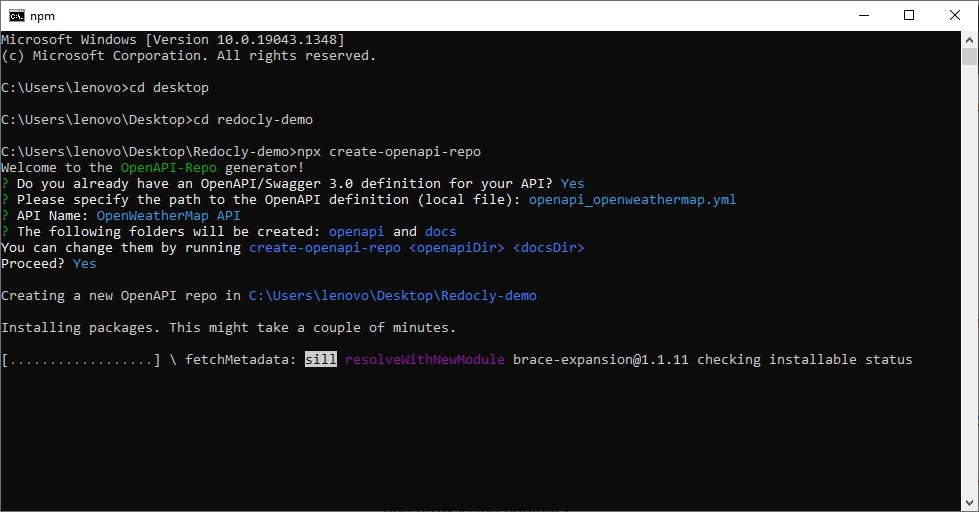
npx create-openapi-repoRedocly recommends using
npxwhen installing thecreate-openapi-repobecause it's something you have to install only once.During the installation, the CLI ask several questions

“Do you already have an OpenAPI/Swagger 3.0 definition for your API? (y/N)”: type y, and press enter/return.
“Please specify the path to the OpenAPI definition (local file):” Here, you will type in the name and language of your YAML or JSON documentation you included on the folder at first (mine is openapi_openweathermap.yml) This is to point to the file Redocly will be rendering. Press enter/return.
“API Name: (OpenWeatherMap API).”: The CLI immediately detects the title of your YAML or JSON document. OpenWeatherMap API is the title of my YAML document that's why i have (OpenWeatherMap API) yours will be different, depending on the Title of your document. Press enter/return.
“The following folders will be created: openapi and docs. You can change them by running create-openapi-repo <openapiDir> <docsDir> Proceed? (Y/n)” Type y and press enter/return
The CLI breaks your OpenAPI file into smaller files into an openapi folder, Redocly then installs some node_modules folders and initializes a git repository. when this is done, you can open your folder using your preferred text editor (such as VS Code, Atom, or Sublime Text).
Install the
openapi cli: after thecreate-openapi-repofinish installing, run theopenapi clicommand using the npm(recommended) or yarn package. either through the command line or your text editor terminal.npm i -g @redocly/openapi-cli@latestyarn global add @redocly/openapi-cliThis is to allow you to use some openapi CLI commands with it throwing an error in the terminal. run
openapi --versionto ensure that the installation was done successfully. You should get a response such as1.0.0-beta.87.Run the following command
openapi lintThe lint command helps check for errors in your documentation. If there are no errors, you should get the response below. But if there is an error, you will also get a response on your terminal pointing out where the error is coming from.

- Preview the Redoc output
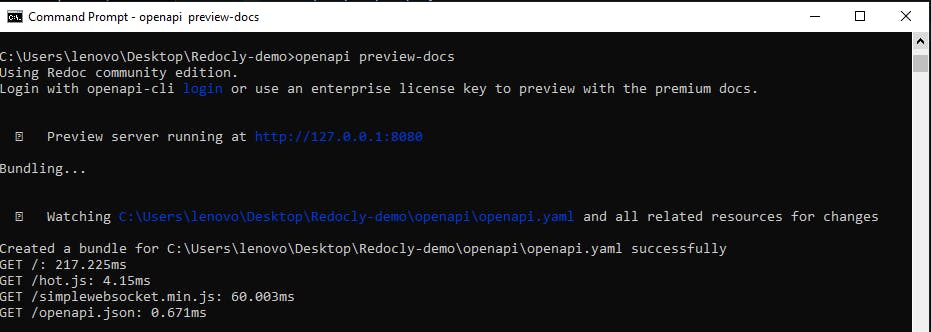
openapi preview-docs
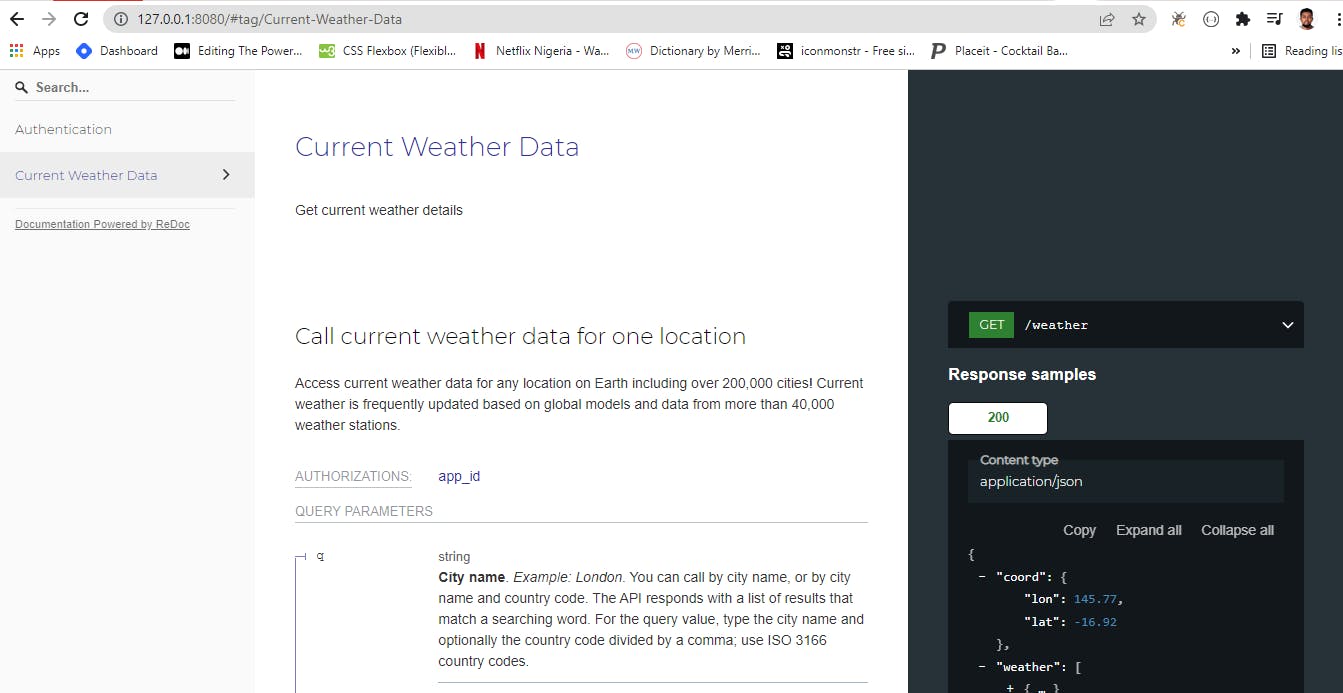
 your documentation should serve at port 127.0.0.1:8080 on your browser.
This is the final step and also the goal of this article. If the above steps are followed carefully, you should be able to preview your documentation on your browser on this port 127.0.0.1:8080. Here is mine

After you preview your documentation locally, when you are ready to publish it live, check the Redocly Youtube channel for tutorials on how to publish your documentation using Redocly Community Edition for free. Thank you
